pfSense and ESXi setup on the OVH network
I host my projects on a dedicated server rented from OVH, I'm a huge VMware fan, so I've used their free product, the ESXi Hypervisor, to cram lots of virtual machines inside my one server. Since not all my virtual machines need internet-facing IPs and ESXi has only basic NAT capability, an easy solution here is running a pfSense install as a NAT router, as a virtual machine. OVH's network has some unique setup required for this specific situation. Unfortunately, this is best documented in various blog posts across the internet.
Installation
You can grab the latest pfSense from here: https://www.pfsense.org/download/index.html. At the time of writing, the latest and pfSense version I'm using is 2.3.4, though any version later than 2.1 should work nicely. Thorough IPv6 support was introduced in 2.1, but if you don't need that I suppose an earlier version would be fine as well. So grab an ISO and upload it to your ESXi machine.
Virtual machine creation
I used the 64-bit version of pfSense, so the "type" of virtual machine I used was Linux - Other Linux (64-bit). pfSense is based on BSD, so any similiar configuration should be fine. 512mb of ram allocated will be more than enough, but 256mb is doable. 4GB disk space allocated is fine as well. Next, other than adding a second network adapter, the default options that ESXi presents will work fine. One specialty for OVH - in your control panel, you must generate a MAC address for the address this host will be using - assign it to the public-facing network adapter. Also, create a virtual switch and attach it to the "private" network adapter. This switch is where your private network and virtual machines will live.
Installing pfSense to the virtual machine is pretty straightforward, but check out this guide if you need help.
OVH customization
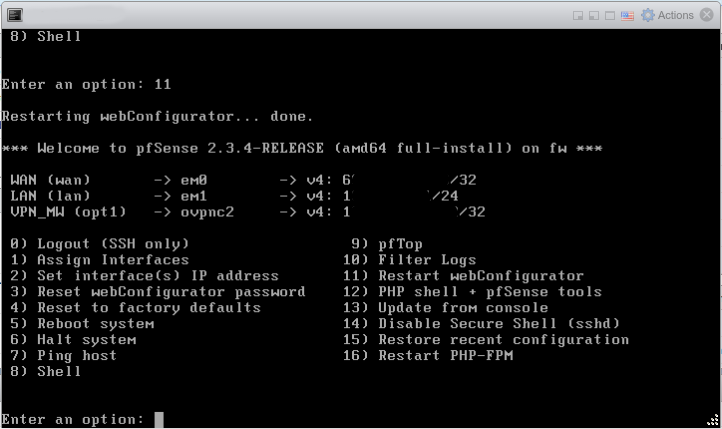
After you finish pfSense's command-line setup wizard, you won't have internet connectivity. You need to add some routes specific to your server's in the OVH network. If your server's primary IP is A.B.C.D and the IP 1.2.3.4 will be assigned to this new host, run these commands in the shell:
route add -net A.B.C.254 1.2.3.4
route add default A.B.C.254
These commands will add routes needed to access your host's gateway. You'll have connectivity now, but need to make this fix permanent. Log into the UI, and in pfSense's package repo the package Shellcmd is a convenient way to do this. Install it and add the two commands above as startup commands.
Wrap up
If you've enabled the DHCP server on your pfSense install you can now create privately-networked virtual machines with internet access via NAT, but with no exposure to the internet. Ports can be forwarded to public services and everything else is hidden behind a layer of NAT.
Next time: setting up IPv6 with TunnelBroker.net!
Editor's Note: originally composed in 2014, but rotted in the drafts bin...


