Coda 2, Git, and Drupal
Coda 2 (Previously, just Coda) has been my "daily driver" suite for web development for around 4 years now. It's an absolutely wonderful editor by Panic, and well worth the price tag in my opinion. It has an editor, (s)ftp client, git client, terminal, mysql database manager, and a whole lot more all in one package.
My workflow when developing a Drupal-based website is usually something like this:
- Create a new drupal install on my local machine.
- Build the theme and database setup locally
- When it's ready for a demo or for whatever displaying, transfer the theme & site files to (typically) the multisite install where the site will live. This usually means manually transferring the local database as well. If you're familiar with drupal you'll know this means tracking down and changing Drupal's internal filesystem settings.
- Repeat steps 2 & 3 until the site is done.
I wanted to remove some of the manual steps, and use Git (I use Bitbucket) for version control. So, here's how to do that in Coda 2! This is based on the assumption you already have a site started, if you're starting from scratch it would be the same procedure, though. I'll also assume you're familiar with at least the basics of using a posix (unix/linux) command line.
Set up a Local Git Repo for the Drupal site
I'll admit I'm not great at using command line git, and have usually stuck with using graphical clients such as Gitbox. But I promise, after this initial setup you can stick with the same tools!
First, in a terminal, change directory to your site's main folder. This would be it's directory in the drupal Sites folder, that's typically named after your domain. I'll be using this blog's setup as an example. We will first create a .gitignore file so items that don't need to be tracked (such as configuration and temporary files) won't be. My .gitignore typically looks like:
Settings.php is the crucial thing here, you don't want your database password out there! Now that it is being kept secret, we can create the local git repo:
git init
This created a basic git repo based in the current directory.
git remote add origin https://dpedu@bitbucket.org/dpedu/projectname.git
Tell git that this project's origin (or master repository, so to speak) is located on Bitbucket. Substituting Github or another git host is doable.
git add --all
Add all existing files to version control
git commit -m 'Initial commit'
Commit all existing files
git push -u origin --all
Transfer the commit we just made to the origin, aka Bitbucket.
Great! Now we have a local Git repository and a master one on a hosted Git service.
Set up Coda 2 to use our repos
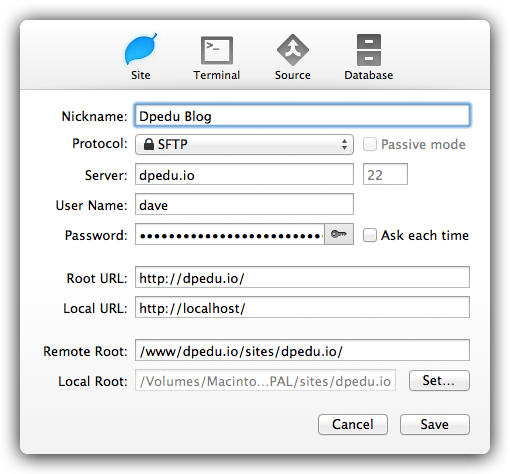
The Coda setup is pretty typical. You want to set Local Root to the same directory where we just made a local repository, though.

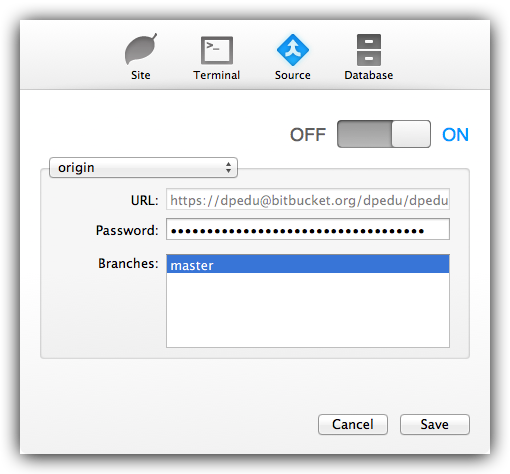
Next, click the Source icon.

On this screen, you'll only need to change Off to On, select origin in the dropdown, and put your Bitbucket password in the password field. Coda should automatically know the git URL, as it's saved in the repo's metdata.
Great! You can save this profile and get to work!
Using Coda
Once you open up the profile we just created, you'll see the local filesystem and remote filesystem within Coda. I like to use the righthand sidebar for just about everything. The files tab shows your theme files, the version control tab (Coda calls it "SCM") is used for working with git, and the publishing tab is used for pushing your local files to the remote server. You can set up git hooks to do this pushing automatically, but I prefer not to when working with Drupal.
After you save changes to a file in Coda, it will be listed in the version control and publishing tab, along with a counter the number of files changed can be seen at a glance.

Right clicking on the file reveals options to:
- Compare it to the latest or any revison using FileMerge, a tool shipped with OS X.
- Add it to the next commit
- Commit it right now
- Revert, branch, merge and all the other git actions.
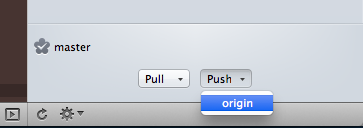
Adding & Committing it work exactly how you would think. At the bottom of this sidebar is the button to push any local commits to the origin (Bitbucket hosted) repo.

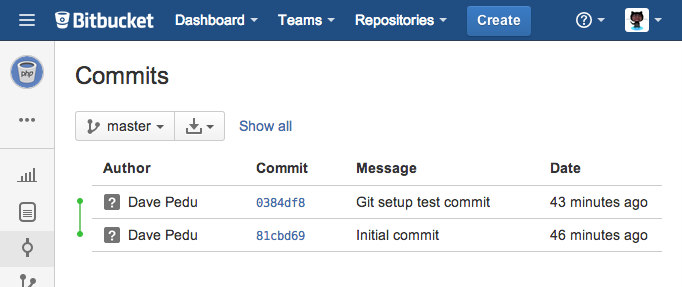
Once you select this, your committed changes are moved to bitbucket!

Cool! Your development setup is now fully integrated with git. Want to push your local version to the remote web server, configured when settng up the site profile in Coda? The publishing tab has the option to Publish All, which uploads any changed files.
The database
We all know drupal heavily relies on it's database for all of it's content, and probably far too much configuration. Moving your local database to a live server can be a bit of a pain, so here's a little script I use to help make it easier:
Neat! So what does this do?
- Dumps your local database to 'dump_raw.sql'.
- Using sed (and some temporary files), removes inserts to any of the various drupal_cache and drupal_watchdog tables. The cache tables need to be cleared in such a move anyways, and the watchdog log messages really aren't too vital and often more than double the dump size.
- Adds 3 queries to update drupal's internal filesystem information to be executed after the database is imported.
- Transfers the sql dump file to the remote server. My SQL server isn't accessible from the internet. Security!
- On the remote server, initiates an import of the dump file.
- Cleans up after itself.
So now your local install is perfectly mirrored, within seconds.
Found this useful? Have a better setup? Brag about it in the comments.


Comments